Oracle Linux 8.2 Installation
--------------------------------------
Introduction : Oracle linux is a binary clone of the Red Hat enterprise Linux(RHEL) distribution,oracle linux operating system is engineered for open cloud infrastructure,Oracle linux is linux distribution packaged and freely distibuted by oracle.
Linux Operating system 8.2
Release: may 2020
oracle linux is free to download from oracle website
Download the iso images of the binary distribution
https://edelivery.oracle.com/linux
Download and apply bug fixes to your installations (oracle provides security updates and bug fixes for oracle linux for free from the public yum repositories on)
https://yum.oracle.com
VMware Workstation Software 9.4
Create Virtual Image
host1 -120g - 4gb
Typical
I will install Operating system later
Linux - Version redhat En linux - 6 64bit
host1 - Virtual Name
D:\host1 - Location to store virtual files.
120GB HDD
Finish
-----------------------------------------------
VM settings - > Edit
Memory - 2048
Processor - Number of processor - 1
Number of cores -2
Note: Core is physical Processor
HDD -120
CDROM - Choose ISO Image
E:\Softwares\Enterprise--U8-Server-x86_64-dvd.iso
Network - Bridged
USB - Show all
Floppy - Remove
Finish
------------------------------------------------
Power on Virtual Machine
------------------------
Press enter - to continue install
Skip - CD Found - Test
English - Language
Keyboard - English
Erase all data - Yes
Create Custom layout - drop down box
New (click ) to create partitions
/ - Primary root partition - linux binaries
15000 ( In windows , same like c:\ - windows binaries)
/tmp - to hold temp files - 4000
File system - swap - is a virtual Memory , double the ram size
4096
If ram fills,then swap comes in to use.
/u01 - user mount point - to hold oracle binaries
15000
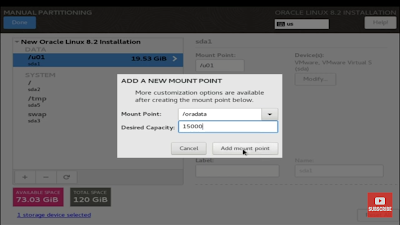
/oradata - to hold oracle datafiles - 10000
/archives - 5000 - to hold archivelogs
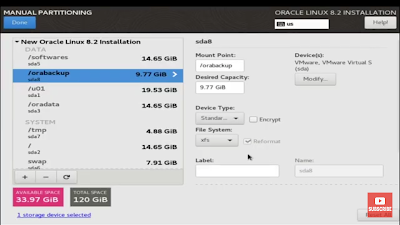
/orabackup - 10000 - to hold backups.
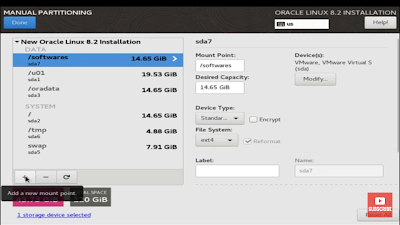
/softwares - to hold softwares - 10000
Network Devices
Disable IPv6
Enable IPv4
Manual Configuration
192.169.2.31
Net mask - 255.255.255.0
Manual - host1.chaitanya.com
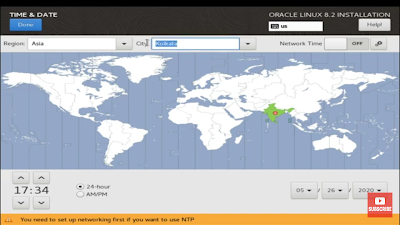
Asia / Kolkatta
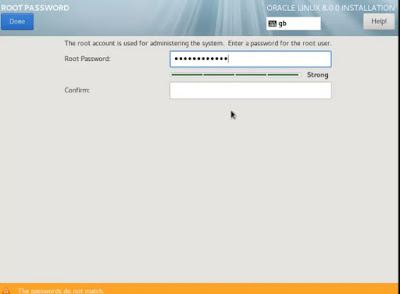
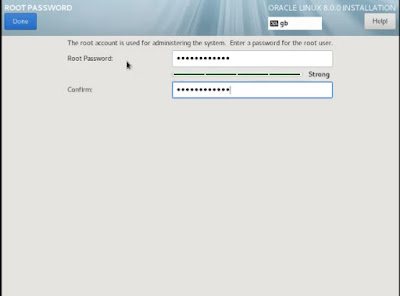
User : root (administrator user)
Paswd : root123 (enter the password)
Choose customise now (option)
Applications - Engineering and Scientific
Development - Except KDE and ruby (select all)
Servers - Server Configuration Tools
Base System - System Tools
Next ....
reboot..
Firewall - Disable
SELinux - Disable
License - yes
User Creation - Ignore - Continue -
Reboot
Let us start the process
----------------------------
oracle linux 8.2 language selection screen click on english ---->United states
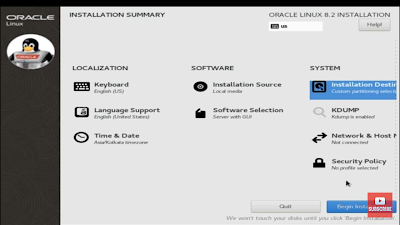
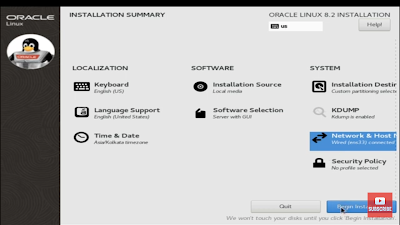
Installation summary screen
Time and date Screen click to select time and date
click on Region---->Asia City---->Kolkatta
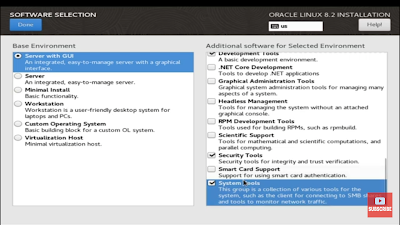
software selection ---> base environment --->server with gui
Base Environment--> click on server with gui--->select vitulization tools,legacy unix compatibility,development tools
Base environment-->server with GUI--> select system tools,development tools,security tools
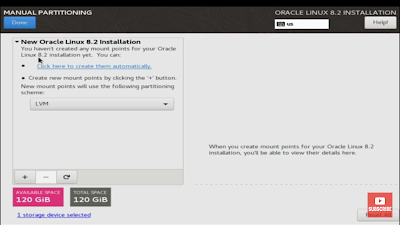
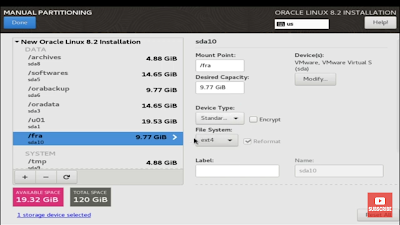
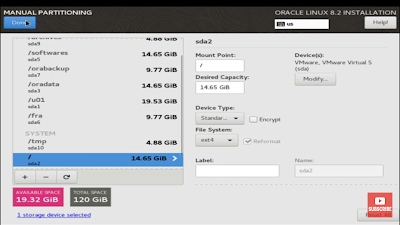
Device selection---> Storage Configuration--->custom
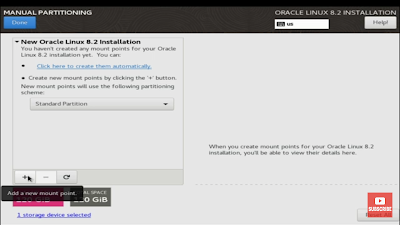
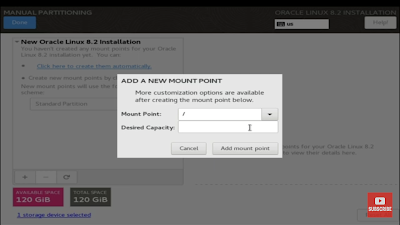
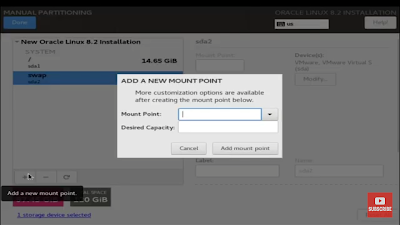
Add a new mount point /
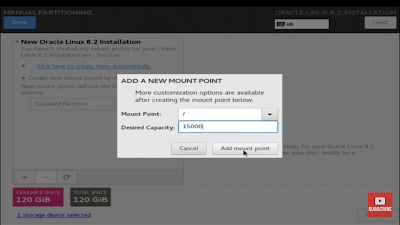
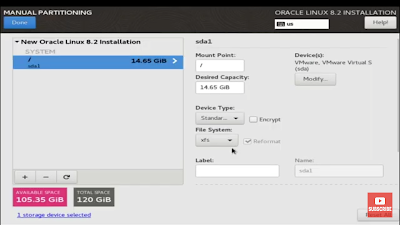
Add Mount Point / and size ---> 15000
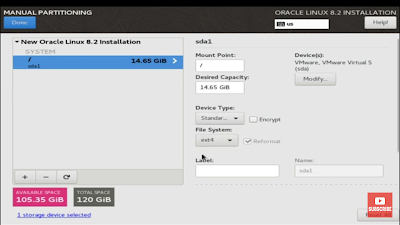
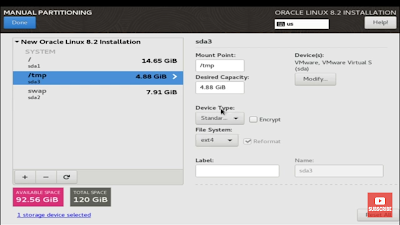
under mount point / file system ext4
Add mount point ---->swap--->8096 size filesystem is ---->swap
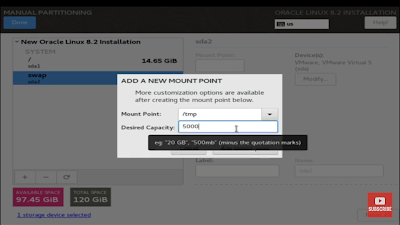
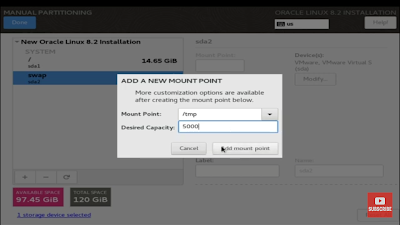
Add new point -------> /tmp size----> 5000 file sytem---->ext4
Add new mount point ----> /u01 size----> 20000 filesytem ---->ext4
Add new mount ----->/oradata size----> 15000 filesystem ---->ext4
Add new mount----> /softwares size----> 15000 filesytem---->ext4
Add mount point ----> /orabackup size--->10000 filesystem ---->ext4
Add new mount point----> /archives size---->5000 filesystem---->ext4
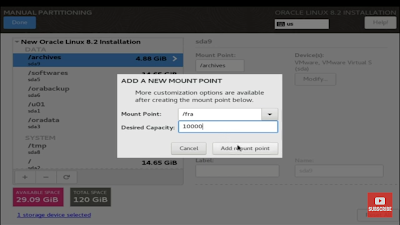
Add mount point-----> /fra size---->10000 filesyetem---->ext4
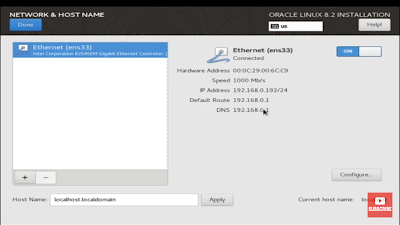
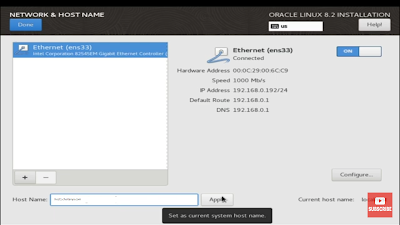
click on network and hostname
click on Ethernet ---->on
hostname ---->host1.chaitanya.com ------>apply
click on-----> begin installation
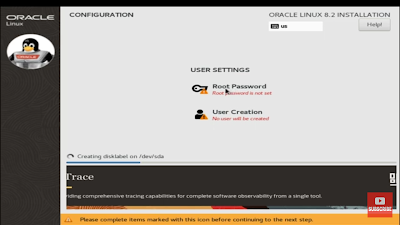
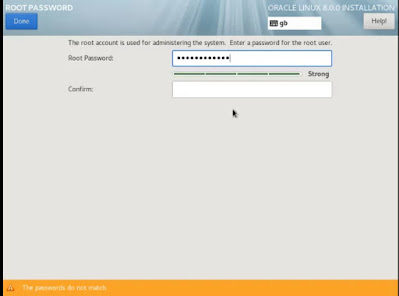
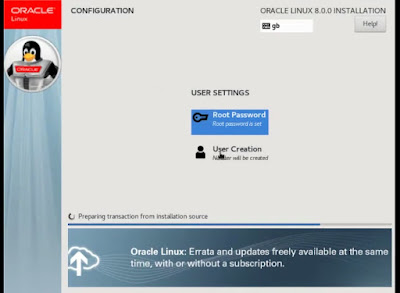
in user settings Root password---->root123
create user account
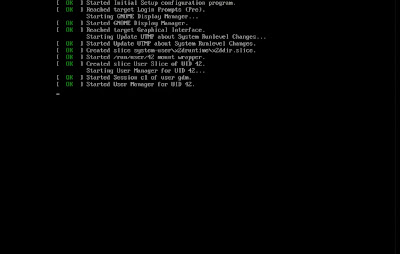
Oracle 8.2 installation sucessfully completed
Note: info on oracle linux 8.2 it may be differ from your environment like vm,virtualboxes,directories,naming conventions
THANKS FOR VIEWING MY BLOG FOR MORE UPDATES FOLLOW ME


